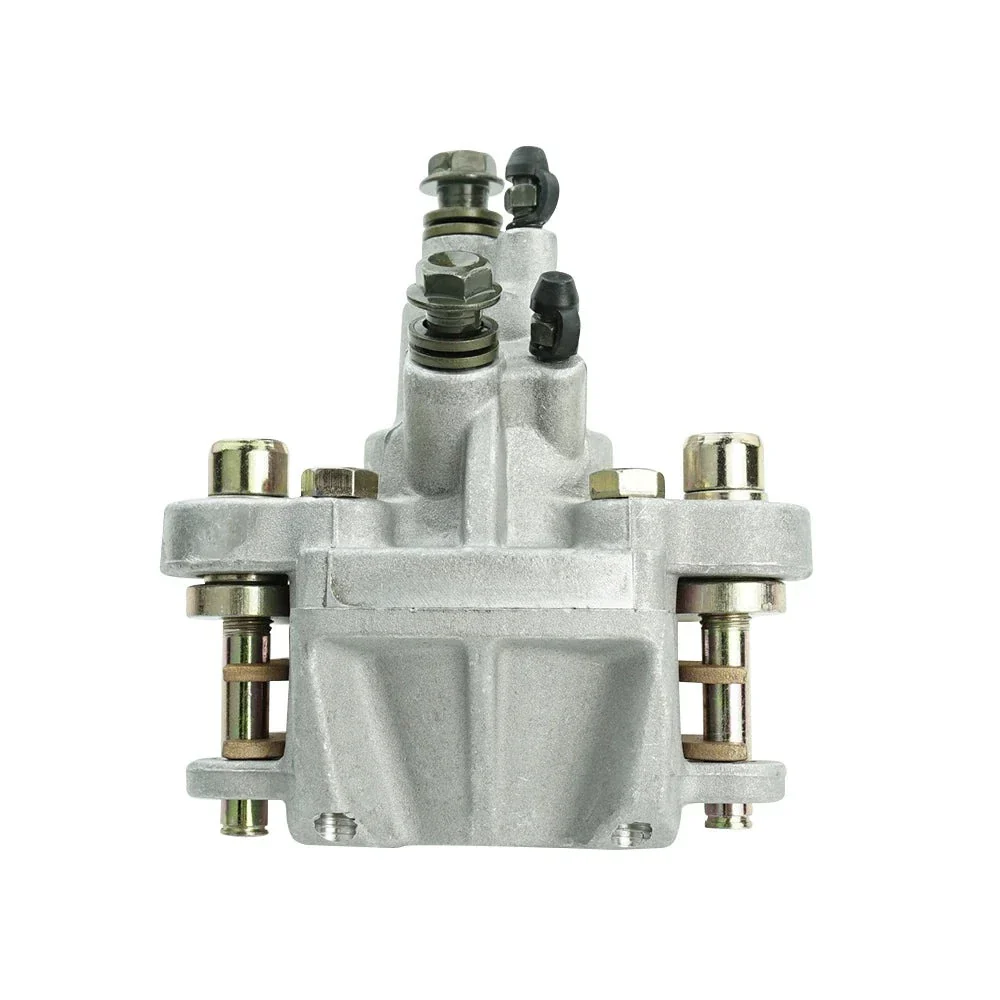
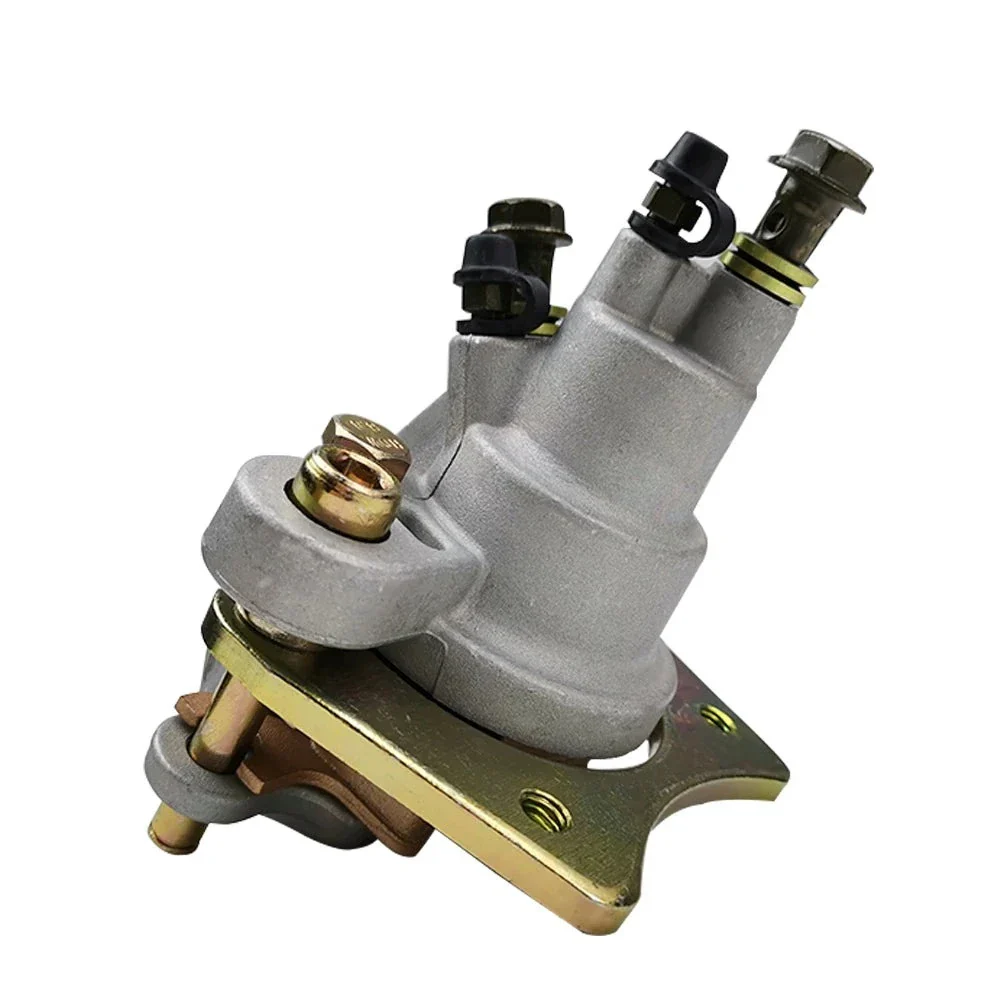
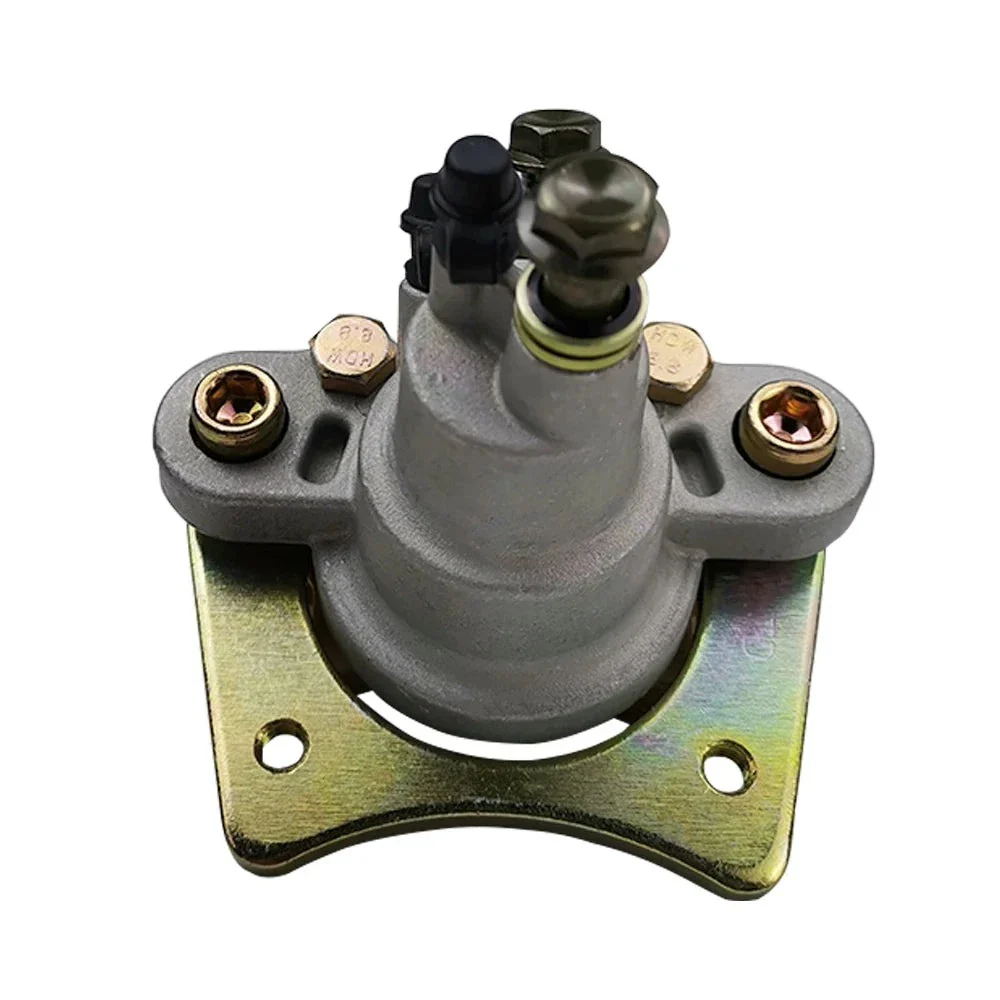
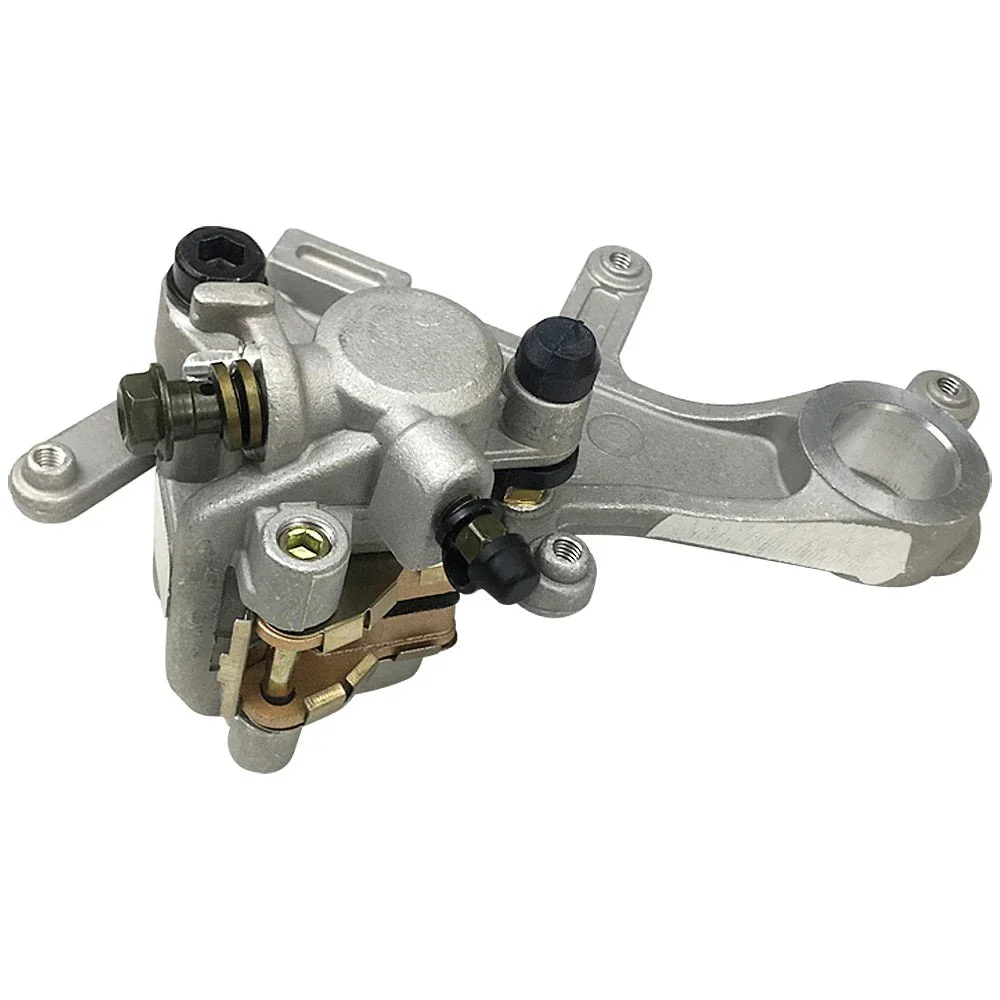
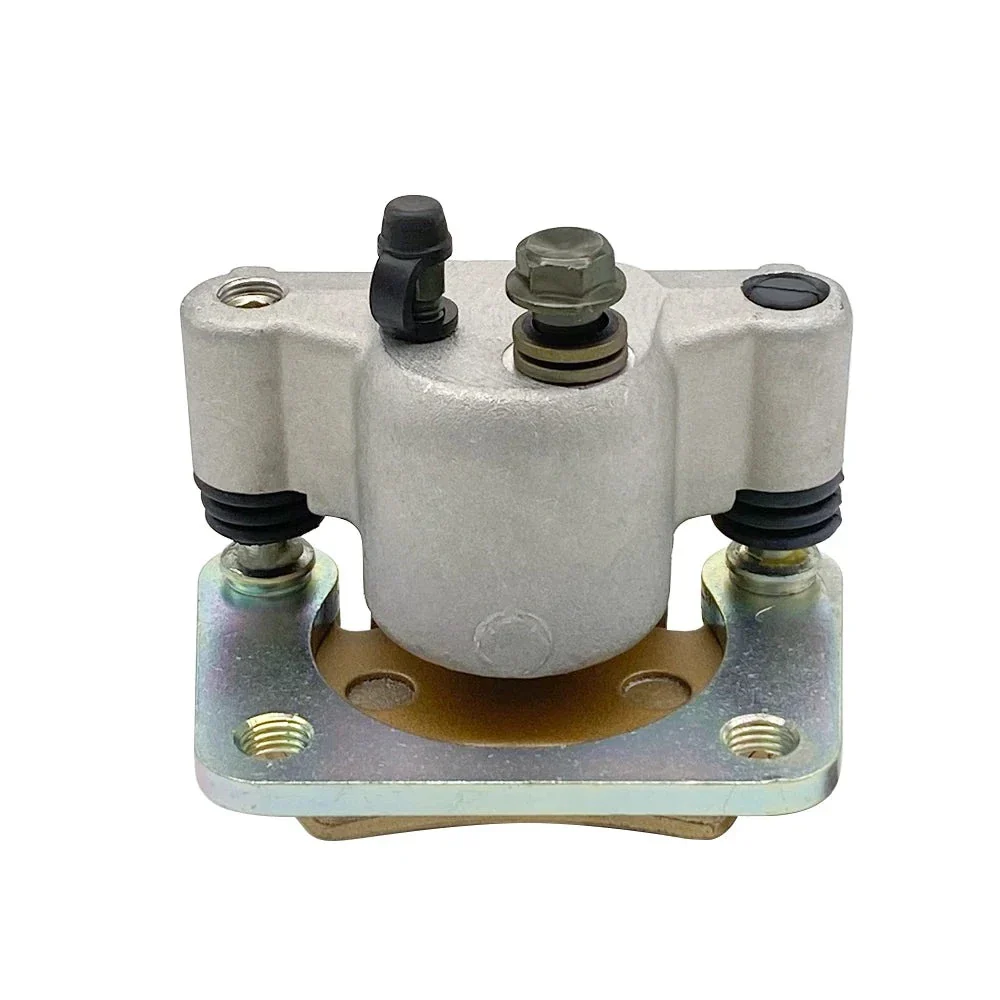
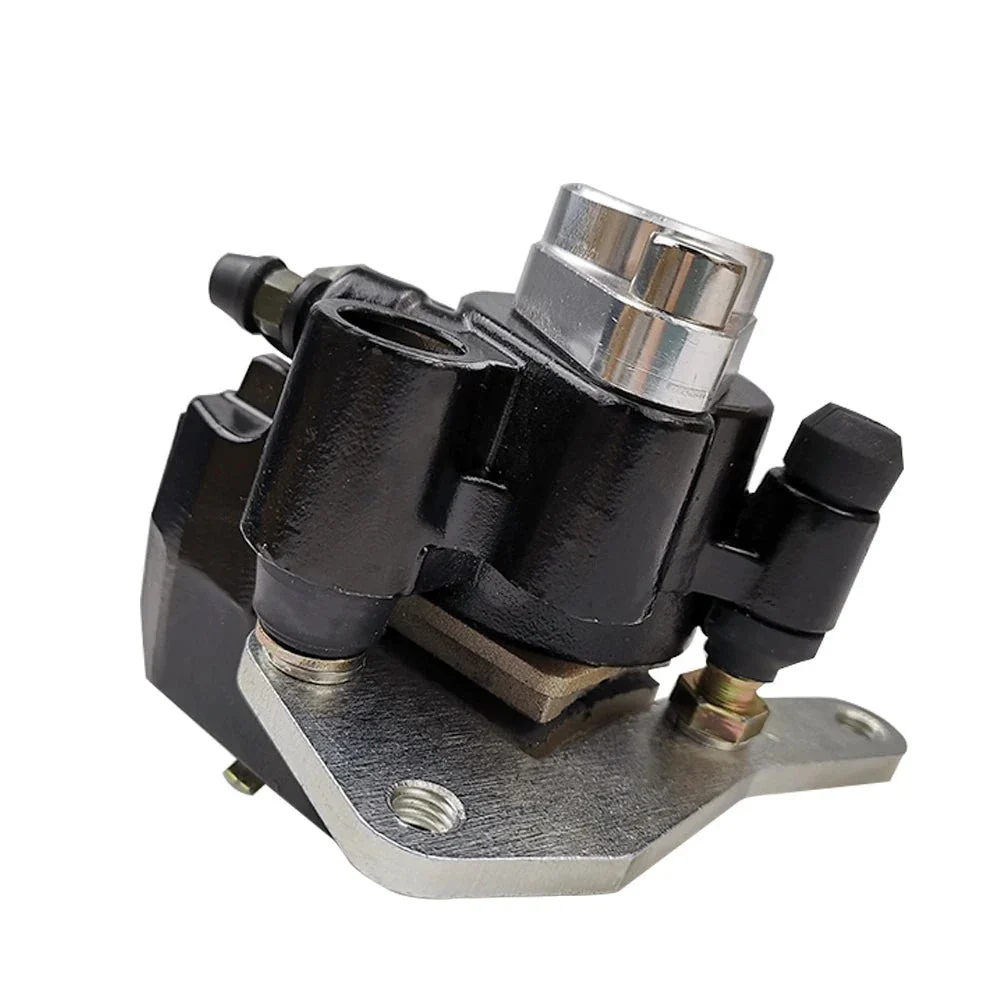
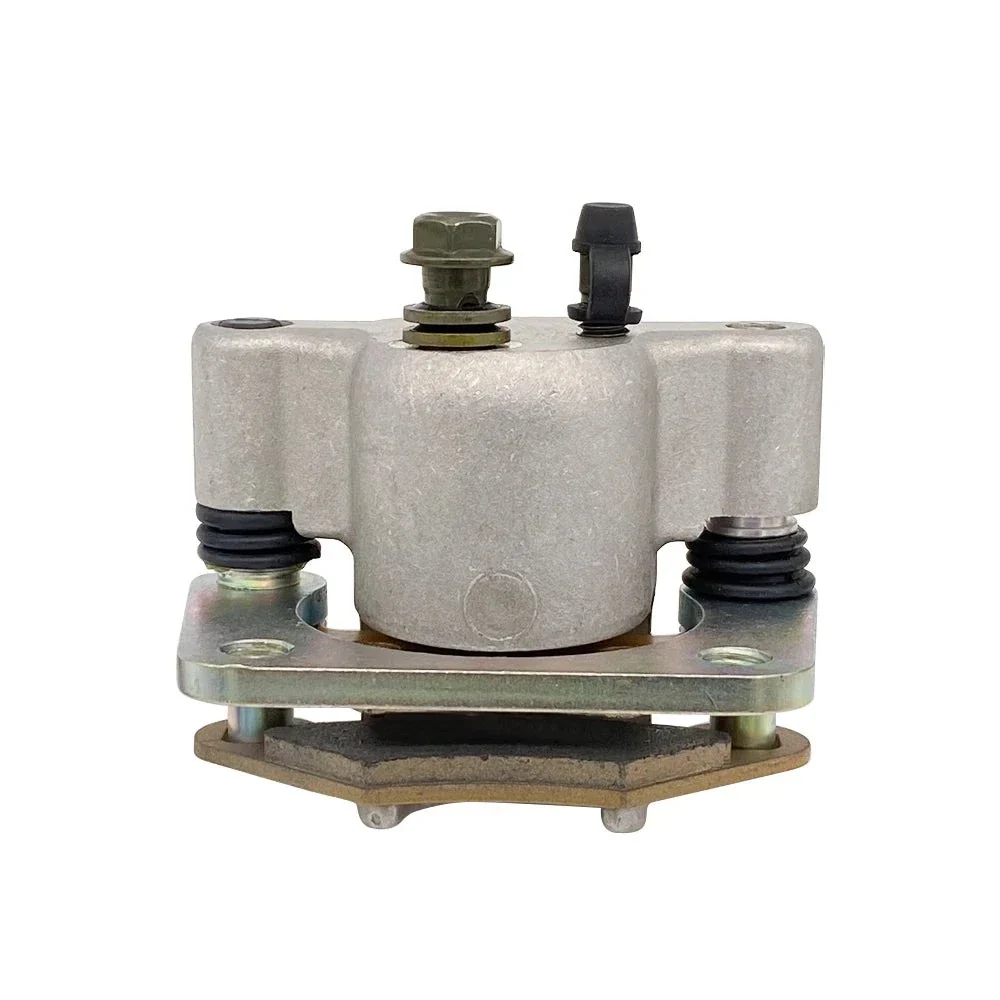
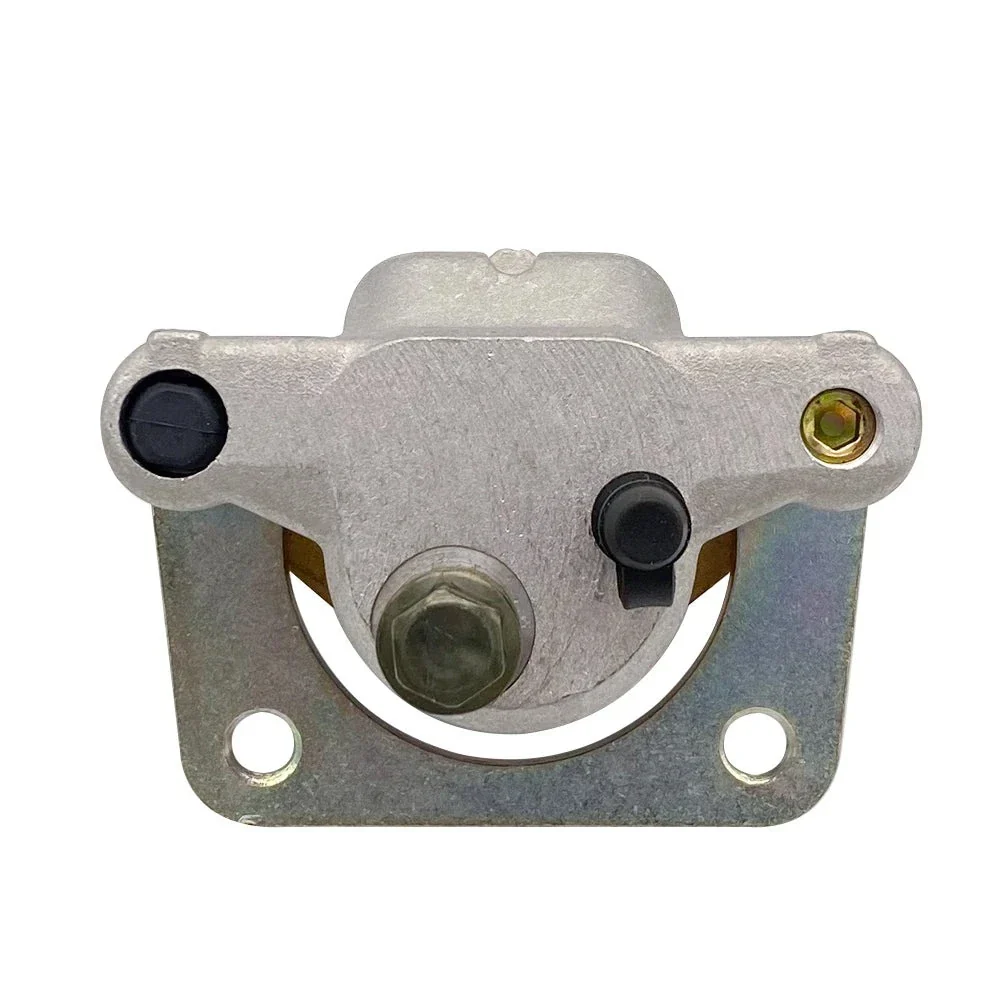
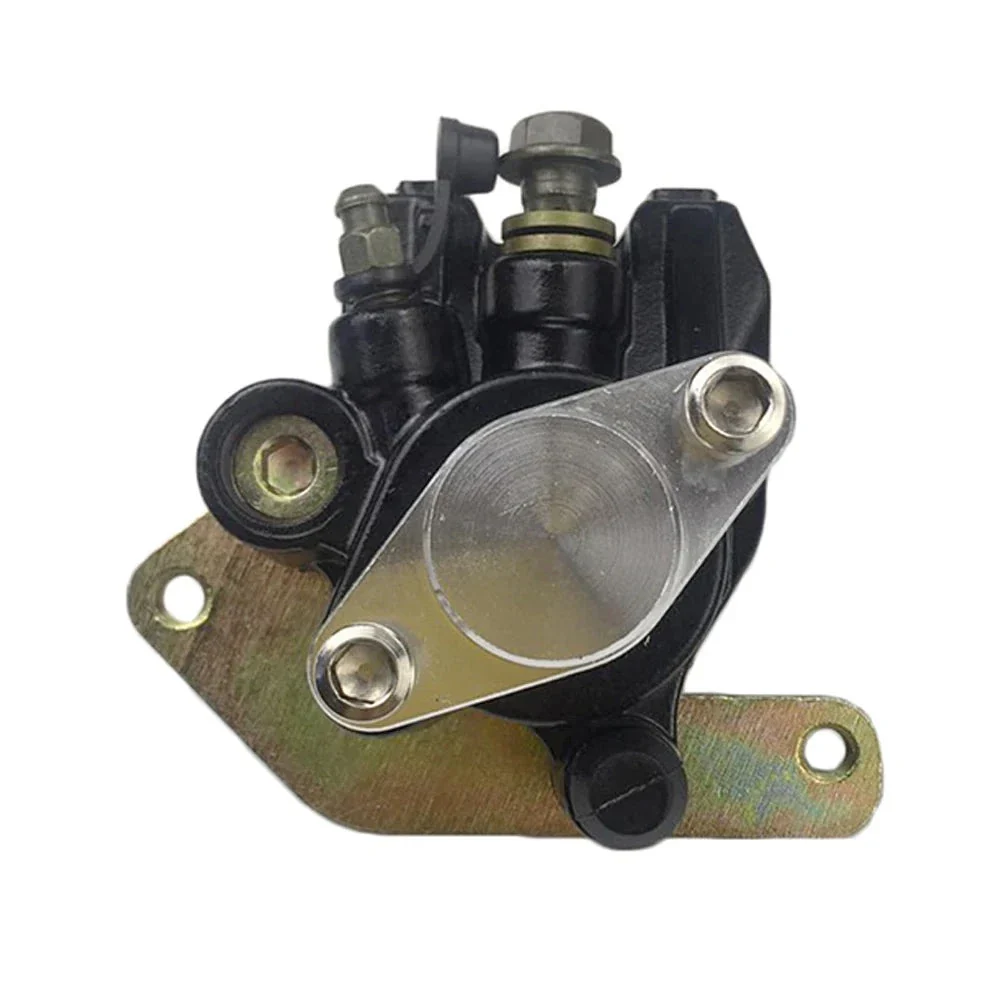
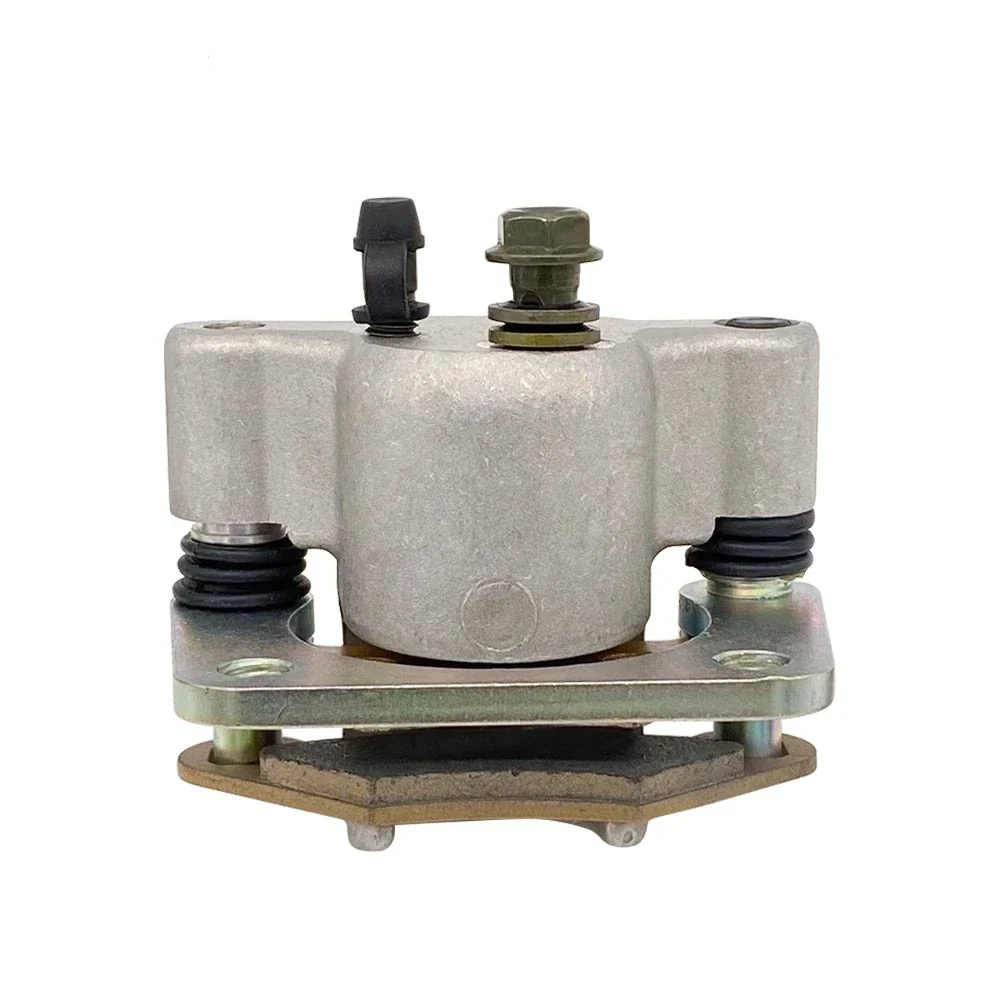
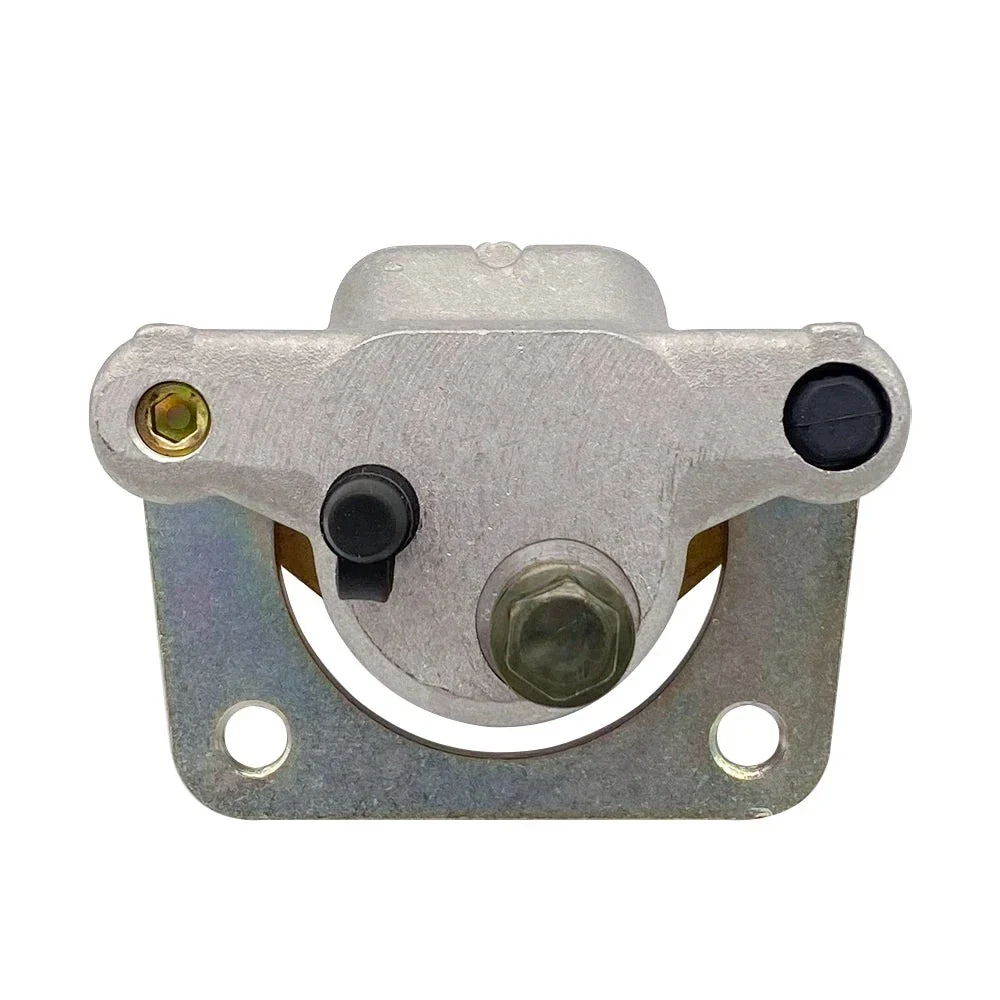
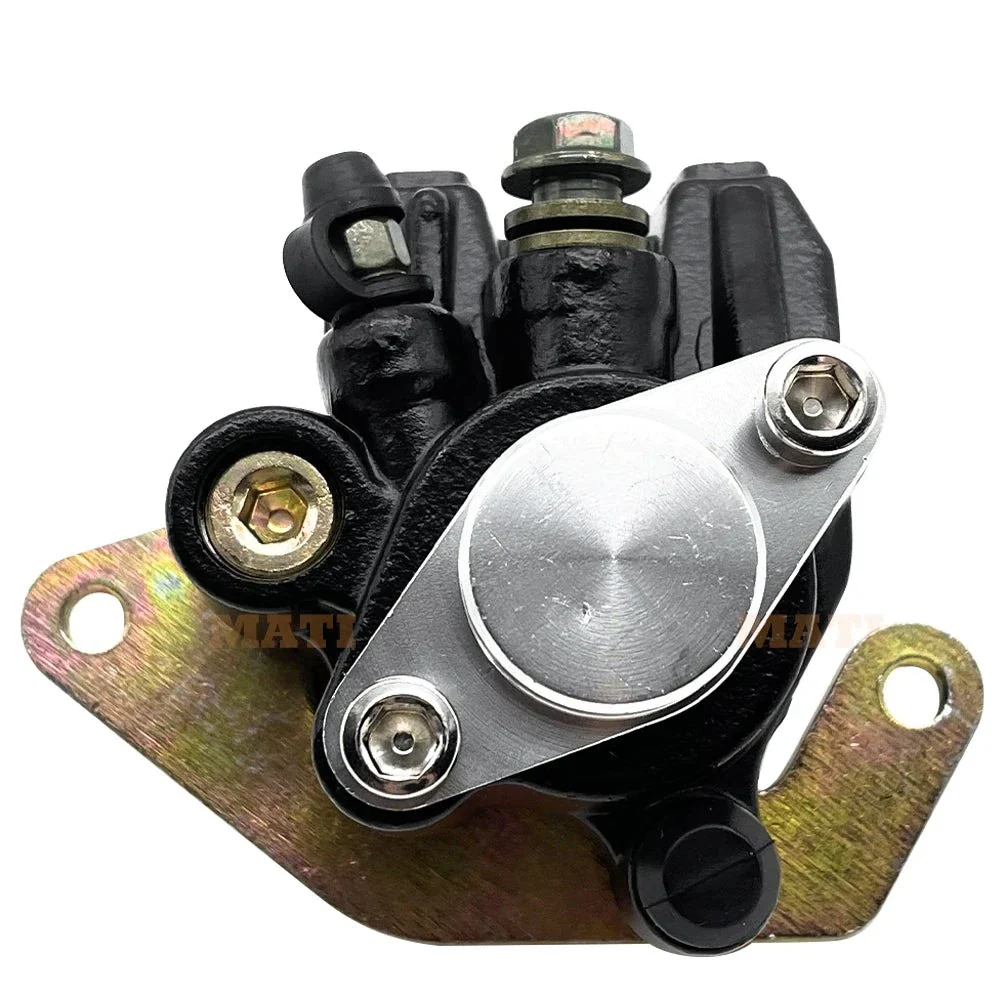
Rear Brake Caliper Rebuild Kit for Polaris Sportsman 400 500 Scrambler 400 500 Magnum 425 Xplorer Xpress 1994-2002 Replaces 1910180
Rear Brake Caliper Rebuild Kit for Polaris Sportsman 400 500 Scrambler 400 500 Magnum 425 Xplorer Xpress 1994-2002 Replaces 1910180
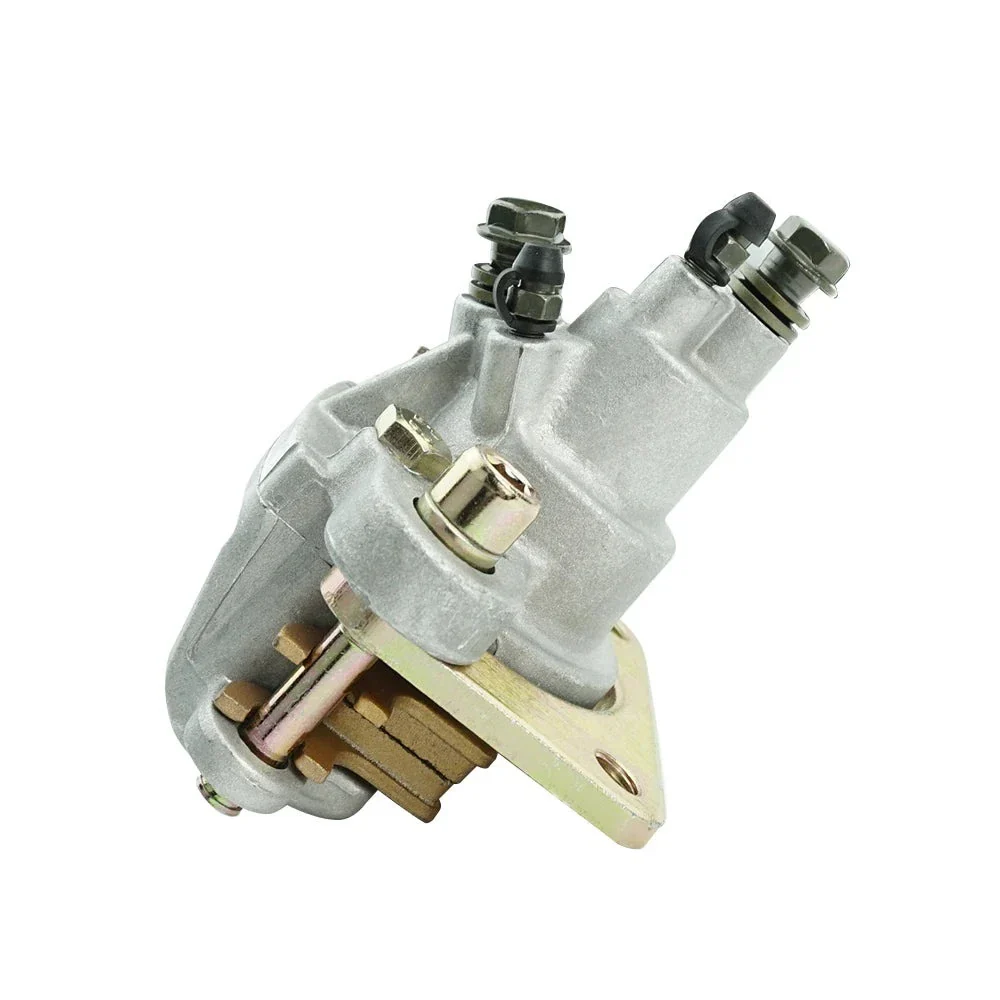
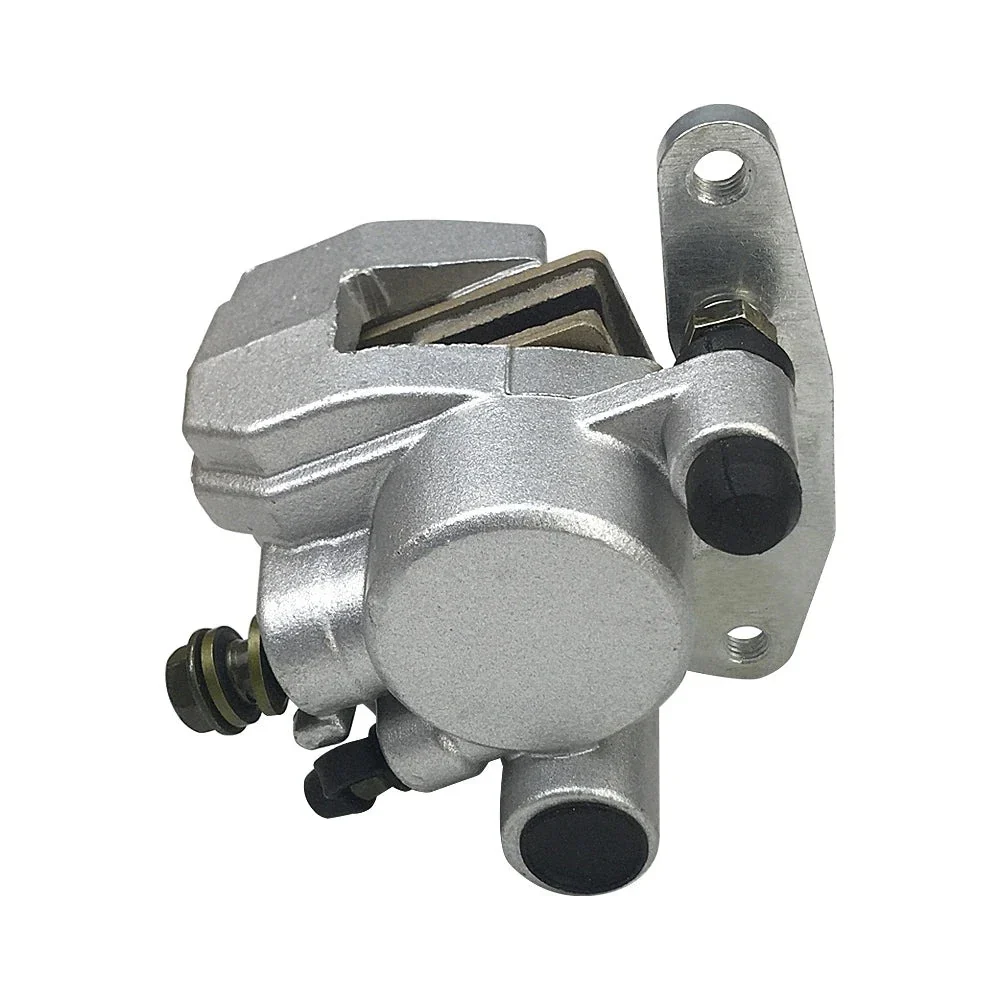
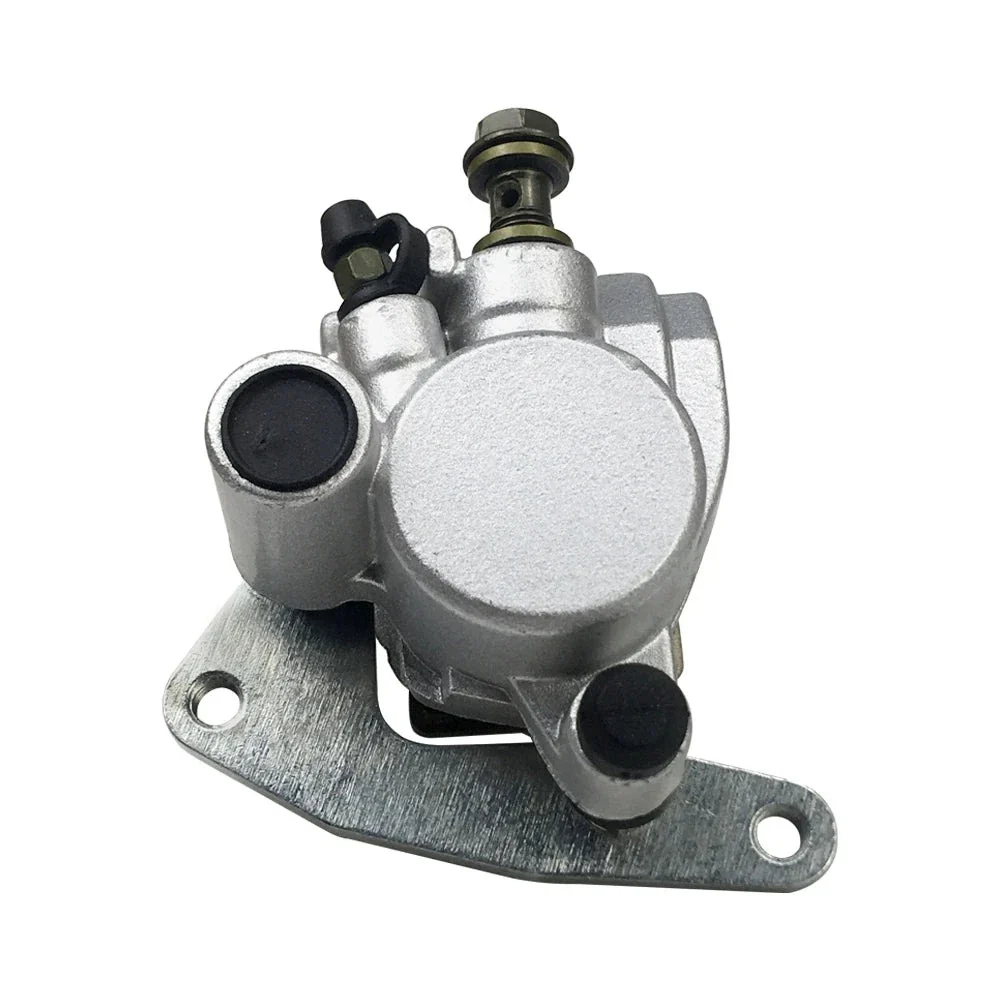
Restore your classic Polaris to factory braking standards for a fraction of the price of a new caliper.
SPECIFICATIONS
Brand Name: M MATI
Origin: Mainland China
Item Height: 2.95
Item Weight: 0.7 KG
Material Type: iron
For ATV Brand/Model: Polaris
Item Length: 4.72
Item Width: 3.54
Model Name: PL0127
MPN:1910224 1910180 5131272 5130946 5131117
Repalcement MPN:1910156 1910209 1910226
Package: Rear Brake Caliper Rebuild Kit x 1
Warranty:1 Year
Fit for Polaris ATV/UTV as Following
300 1994-1995
400 1994-1995
Magnum 425 2x4/4x4 1995-1998 Exclude 6x6 Edition
Scrambler 400 1995-1997
Scrambler 500 1997
Sport 400 1994-1998
Sportsman 400 1993-1997
Trail Blazer 250 1994-1998
Trail Boss 250 1994-1999
Xplorer 300 1996-1999
Xplorer 400 1995-1998
Xpress 300 1996-1999
Xpress 400 1996-1997
🛠️ Installation Tips
-
Clean the Bore: Use a plastic scrub pad and brake cleaner to thoroughly clean the inside of the caliper bore. Any leftover corrosion or "pitting" will tear the new seals and cause an immediate leak.
-
Piston Inspection: Before installing the new seals, inspect the brake piston for scratches or nicks. If the piston surface is rough, it must be polished with fine steel wool or replaced, otherwise, the new seals won't hold pressure.
-
Lube the Seals: Apply a small amount of fresh DOT 3 or DOT 4 brake fluid to the new O-rings before sliding them into the caliper grooves. Never install seals "dry," as they can pinch or tear during assembly.
-
Grease the Slide Pins: The "floating" nature of this caliper depends on the slide pins. Clean the pins and apply a thin layer of high-temp silicone brake grease. If the pins are stuck, your brakes will wear unevenly and drag.
-
Bleeding Air: Rear brakes on older Polaris models can be difficult to bleed because the lines are long. Use a vacuum bleeder if possible, and ensure the bleeder screw is at the highest point of the caliper during the process.
🔍 Troubleshooting Guide
| Issue | Possible Cause | Solution |
| Brake Fluid Leaking | Pinched seal or pitted caliper bore. | Remove the piston and inspect the seals. If the seals are fine but it still leaks, the caliper body itself is likely too corroded to seal. |
| Brakes Dragging/Overheating | Seized slide pins or stuck piston. | Ensure the caliper moves freely on its mounting pins. If the piston won't retract, check if the master cylinder return port is clogged. |
| Spongy Brake Pedal | Air trapped in the caliper. | Re-bleed the system. On these models, air often gets trapped in the top of the caliper. Try unmounting the caliper and holding it so the bleeder is the highest point. |
| No Brake Pressure | Failing rear master cylinder. | If the caliper is rebuilt but the pedal still goes to the floor, the seals in your foot-brake master cylinder have likely failed. |
| Squealing After Rebuild | Contaminated pads or un-greased pins. | Ensure no brake fluid or grease got onto the brake pads. Verify that the pad-retaining clips are seated correctly. |
Original: $73.80
-65%$73.80
$25.83


Description
Restore your classic Polaris to factory braking standards for a fraction of the price of a new caliper.
SPECIFICATIONS
Brand Name: M MATI
Origin: Mainland China
Item Height: 2.95
Item Weight: 0.7 KG
Material Type: iron
For ATV Brand/Model: Polaris
Item Length: 4.72
Item Width: 3.54
Model Name: PL0127
MPN:1910224 1910180 5131272 5130946 5131117
Repalcement MPN:1910156 1910209 1910226
Package: Rear Brake Caliper Rebuild Kit x 1
Warranty:1 Year
Fit for Polaris ATV/UTV as Following
300 1994-1995
400 1994-1995
Magnum 425 2x4/4x4 1995-1998 Exclude 6x6 Edition
Scrambler 400 1995-1997
Scrambler 500 1997
Sport 400 1994-1998
Sportsman 400 1993-1997
Trail Blazer 250 1994-1998
Trail Boss 250 1994-1999
Xplorer 300 1996-1999
Xplorer 400 1995-1998
Xpress 300 1996-1999
Xpress 400 1996-1997
🛠️ Installation Tips
-
Clean the Bore: Use a plastic scrub pad and brake cleaner to thoroughly clean the inside of the caliper bore. Any leftover corrosion or "pitting" will tear the new seals and cause an immediate leak.
-
Piston Inspection: Before installing the new seals, inspect the brake piston for scratches or nicks. If the piston surface is rough, it must be polished with fine steel wool or replaced, otherwise, the new seals won't hold pressure.
-
Lube the Seals: Apply a small amount of fresh DOT 3 or DOT 4 brake fluid to the new O-rings before sliding them into the caliper grooves. Never install seals "dry," as they can pinch or tear during assembly.
-
Grease the Slide Pins: The "floating" nature of this caliper depends on the slide pins. Clean the pins and apply a thin layer of high-temp silicone brake grease. If the pins are stuck, your brakes will wear unevenly and drag.
-
Bleeding Air: Rear brakes on older Polaris models can be difficult to bleed because the lines are long. Use a vacuum bleeder if possible, and ensure the bleeder screw is at the highest point of the caliper during the process.
🔍 Troubleshooting Guide
| Issue | Possible Cause | Solution |
| Brake Fluid Leaking | Pinched seal or pitted caliper bore. | Remove the piston and inspect the seals. If the seals are fine but it still leaks, the caliper body itself is likely too corroded to seal. |
| Brakes Dragging/Overheating | Seized slide pins or stuck piston. | Ensure the caliper moves freely on its mounting pins. If the piston won't retract, check if the master cylinder return port is clogged. |
| Spongy Brake Pedal | Air trapped in the caliper. | Re-bleed the system. On these models, air often gets trapped in the top of the caliper. Try unmounting the caliper and holding it so the bleeder is the highest point. |
| No Brake Pressure | Failing rear master cylinder. | If the caliper is rebuilt but the pedal still goes to the floor, the seals in your foot-brake master cylinder have likely failed. |
| Squealing After Rebuild | Contaminated pads or un-greased pins. | Ensure no brake fluid or grease got onto the brake pads. Verify that the pad-retaining clips are seated correctly. |