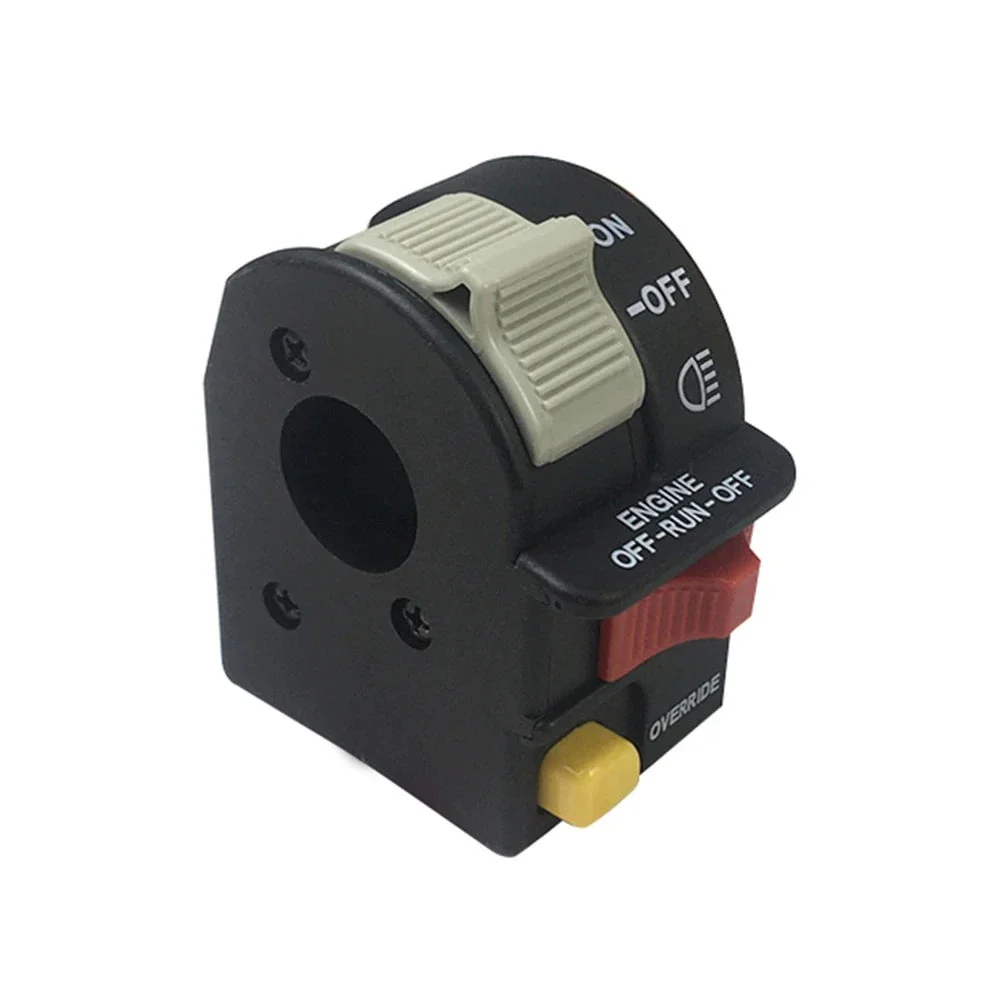
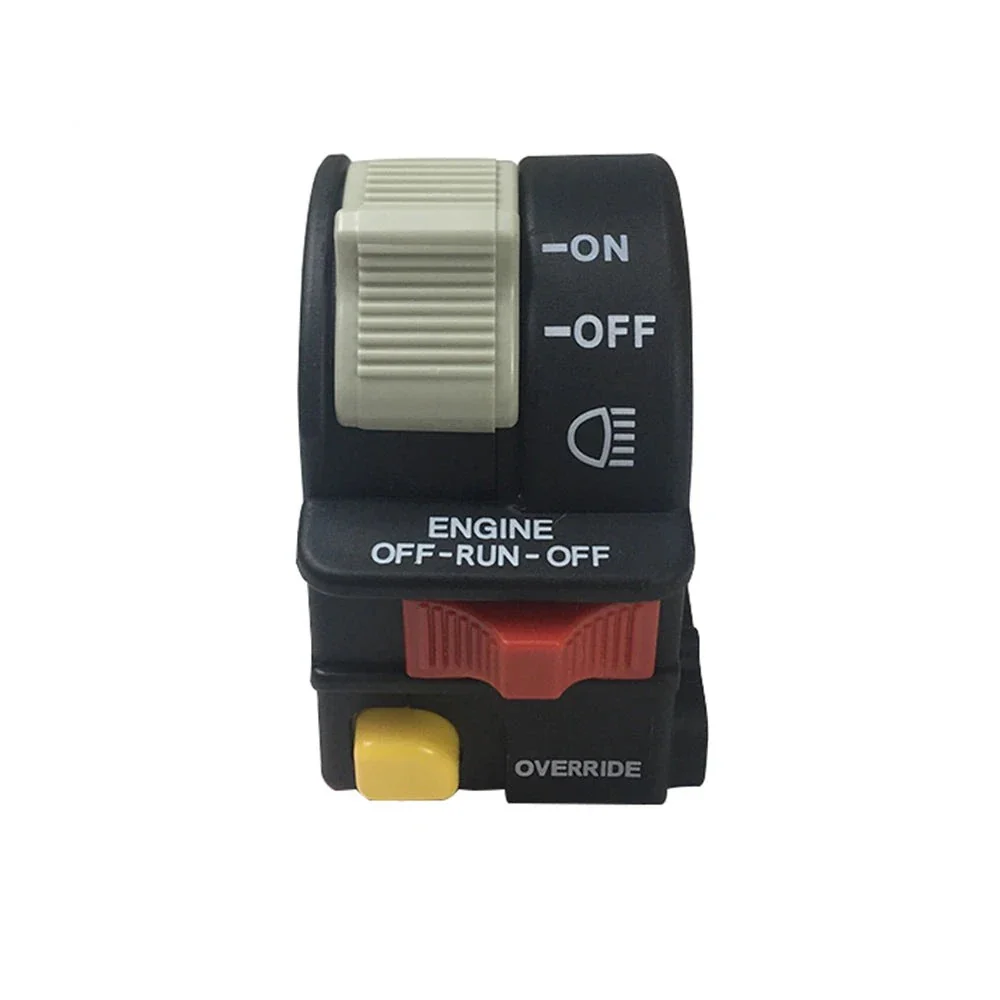
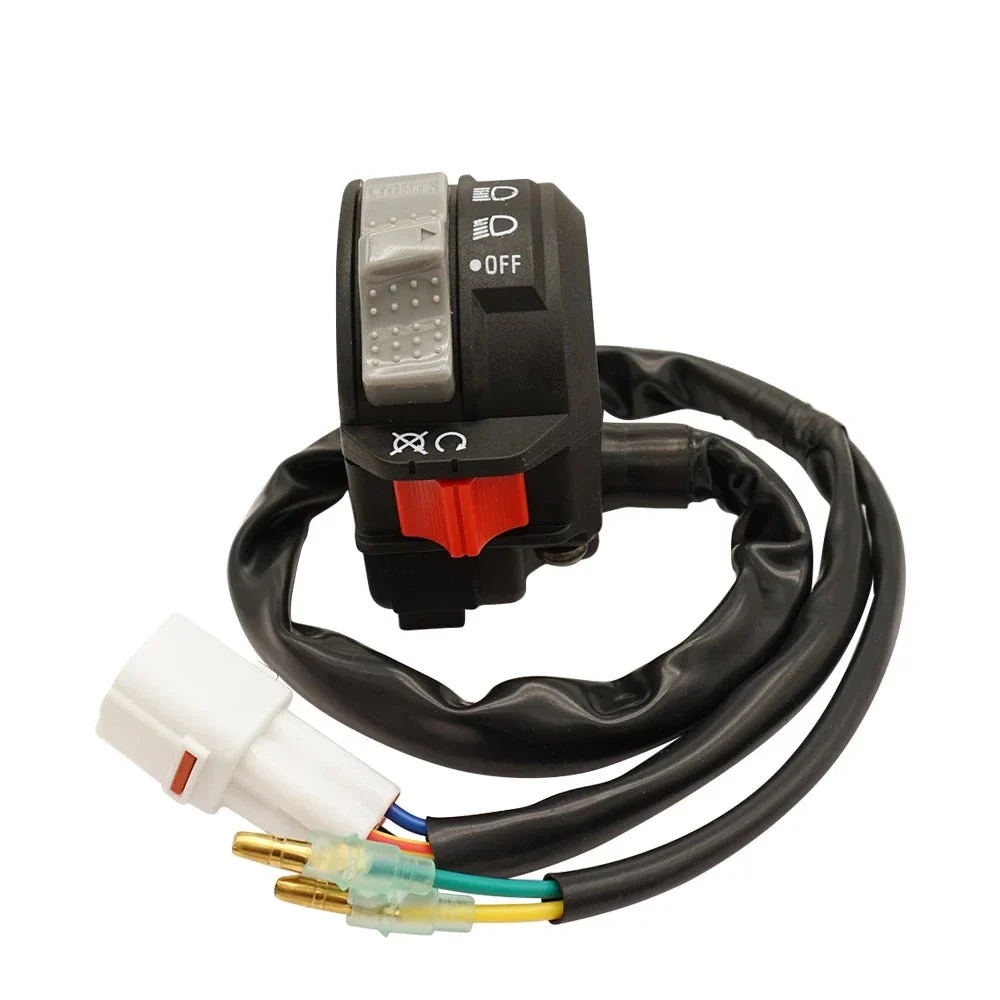
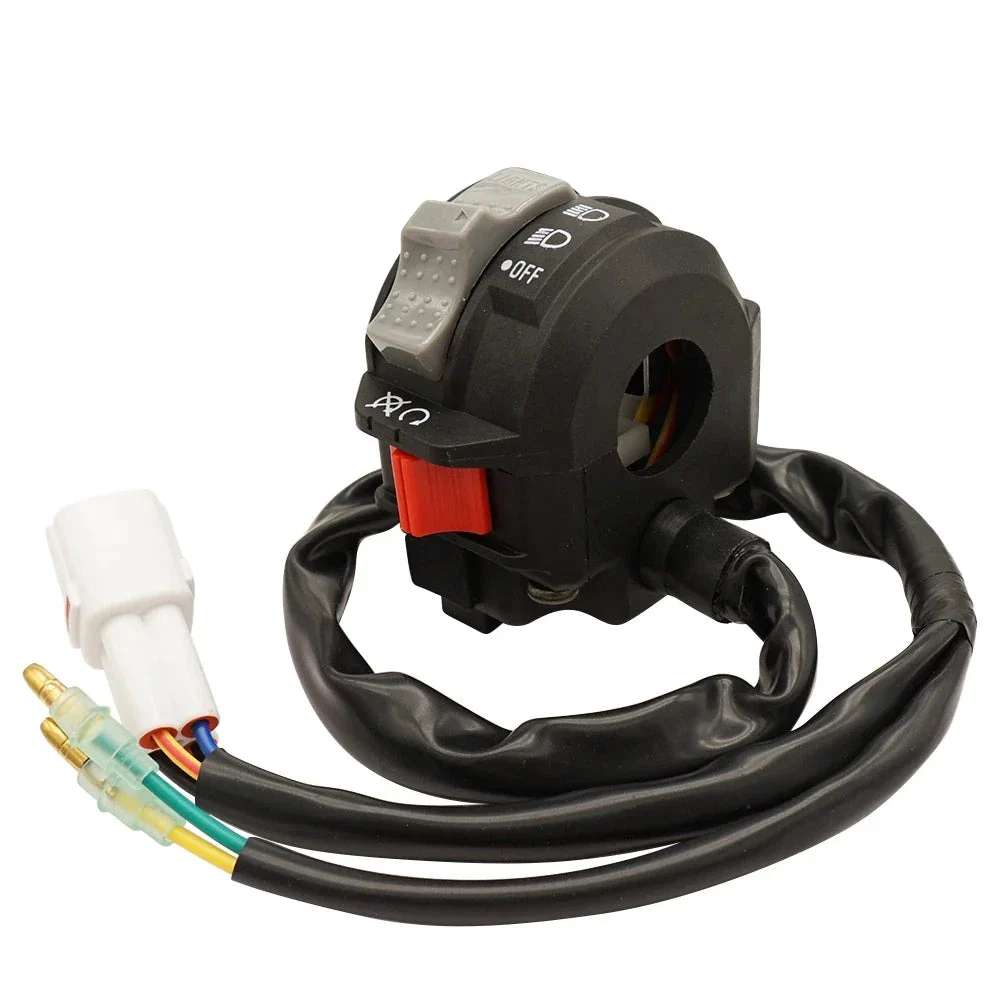
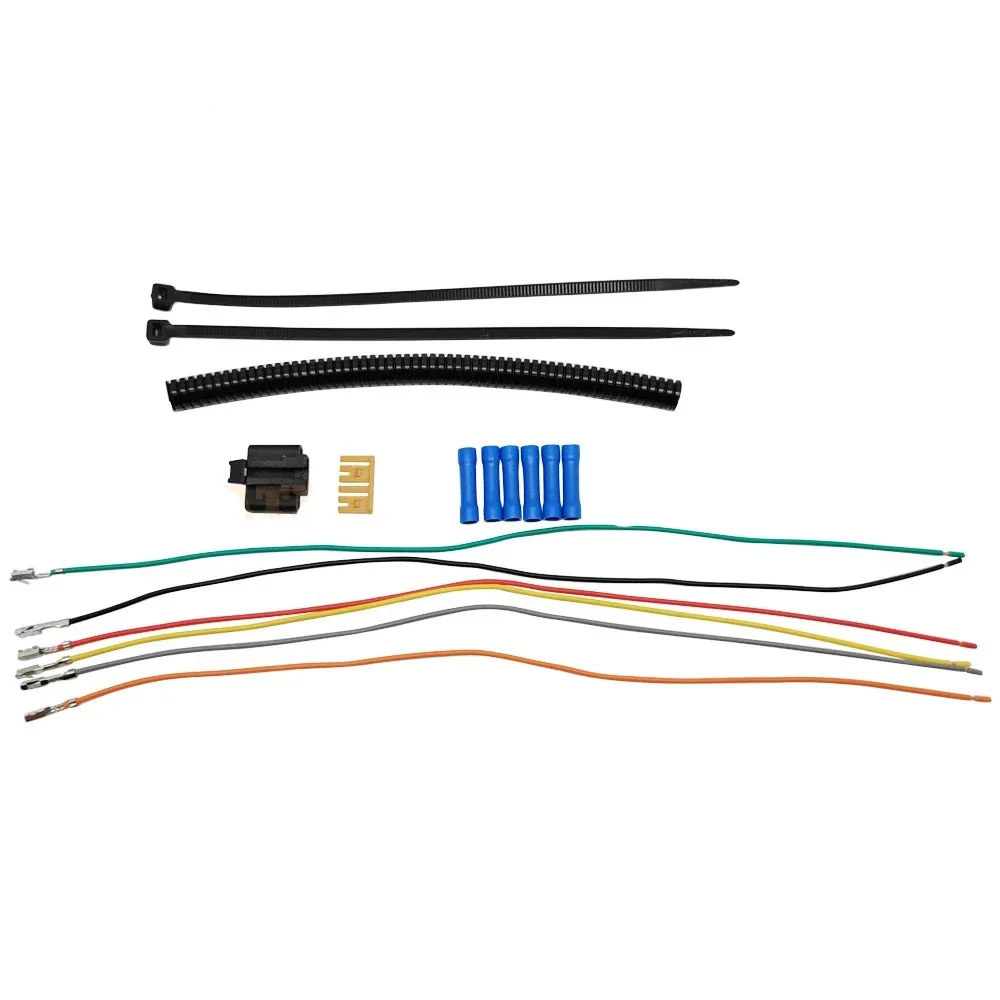
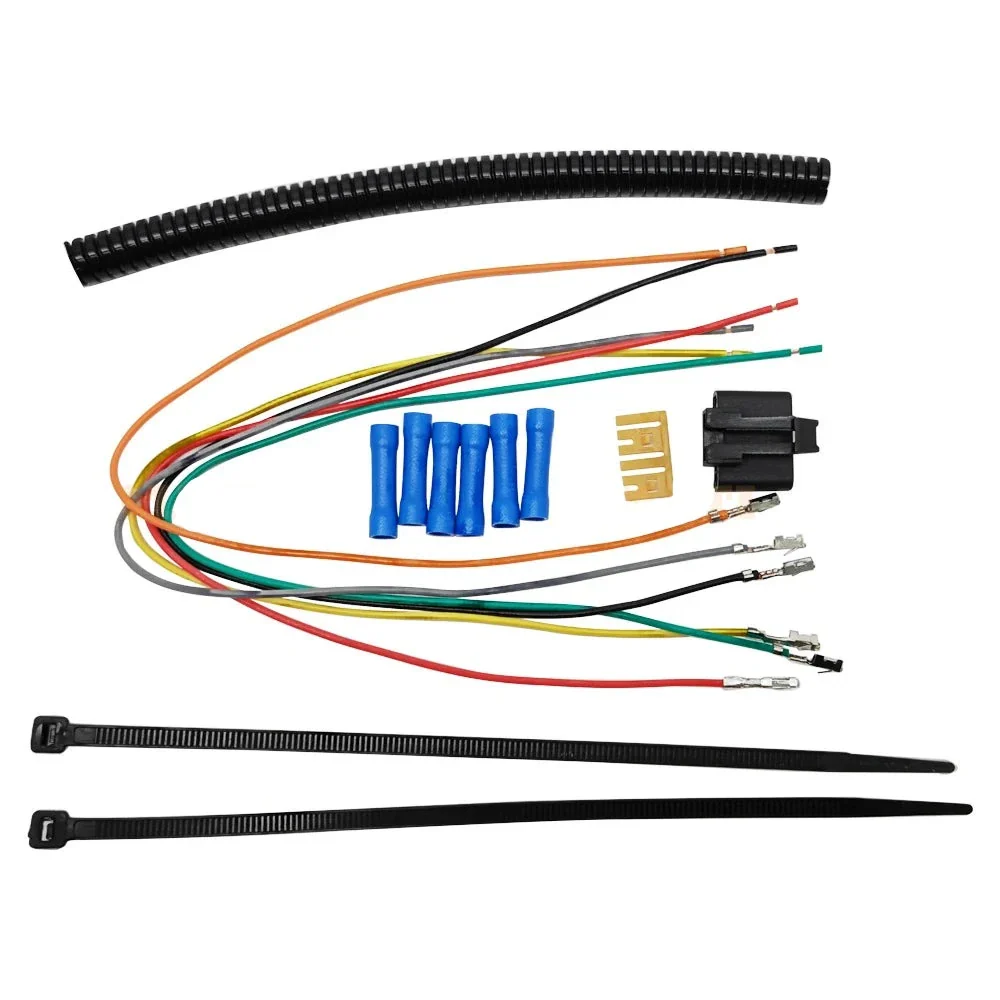
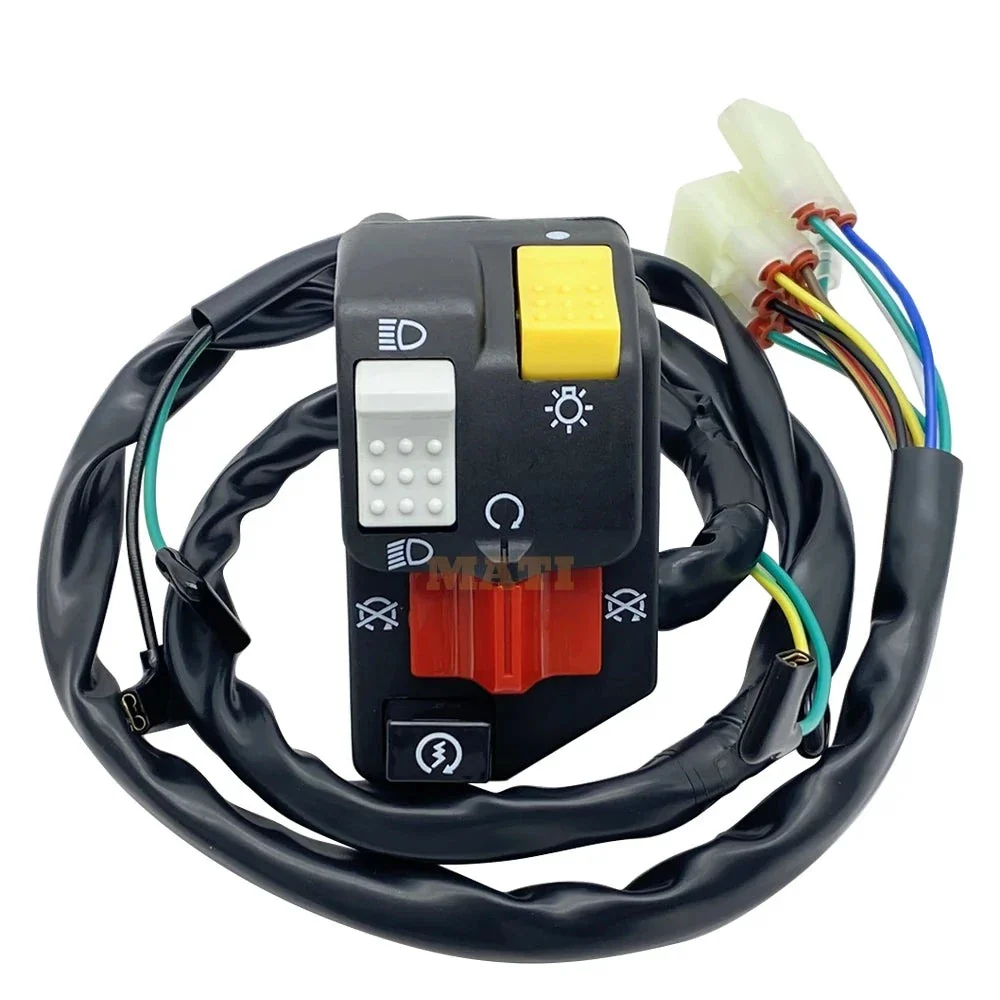
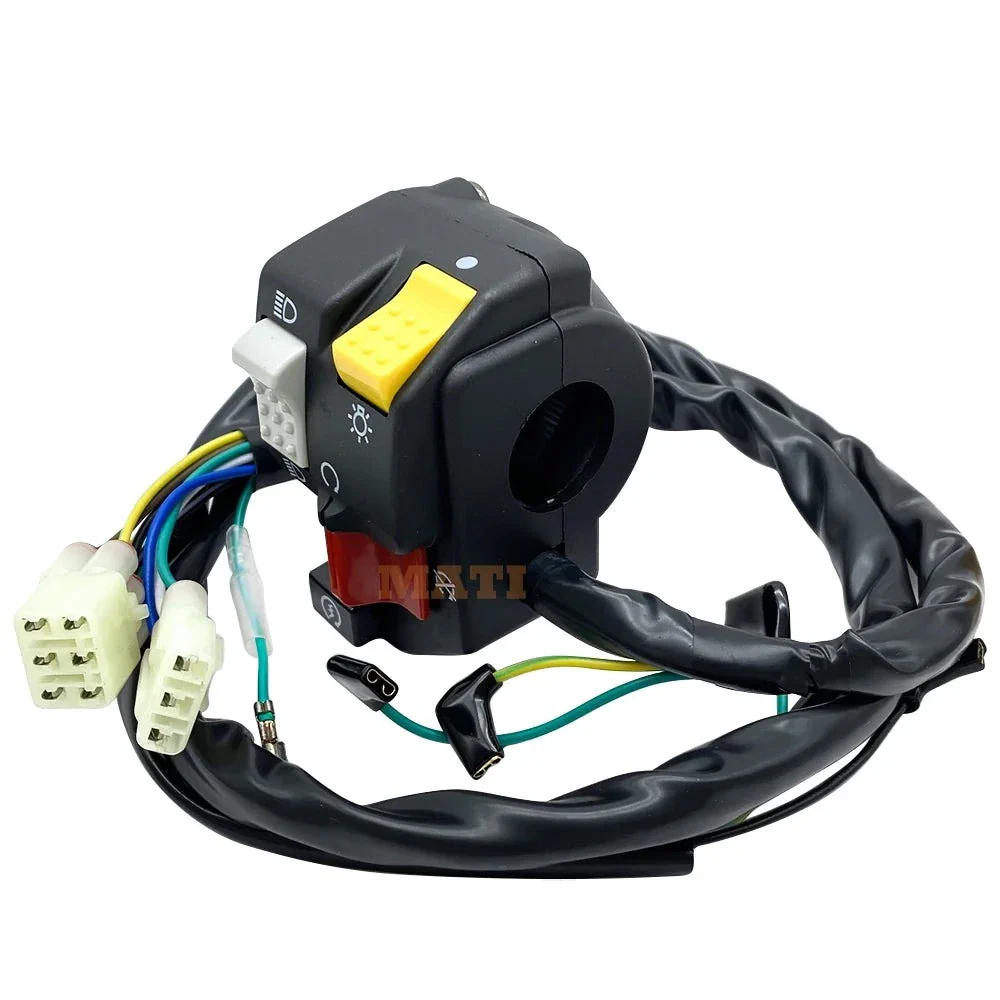
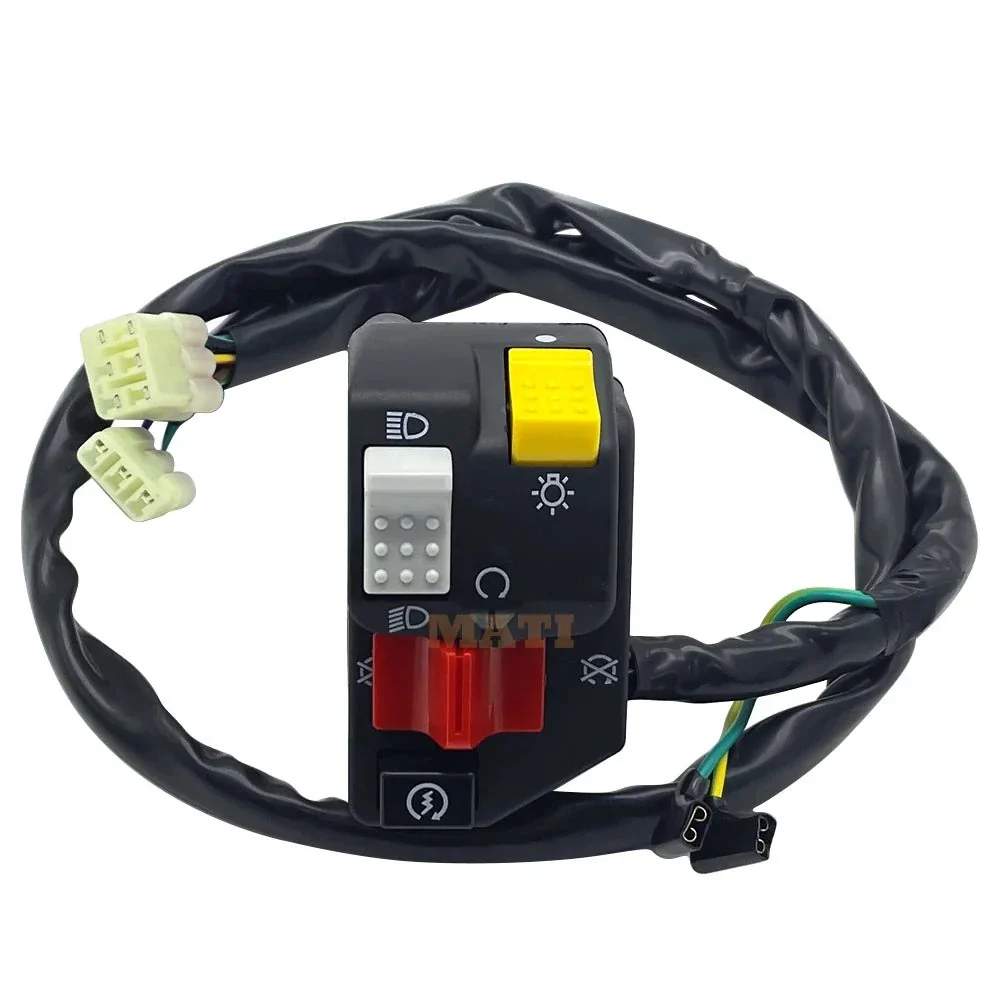
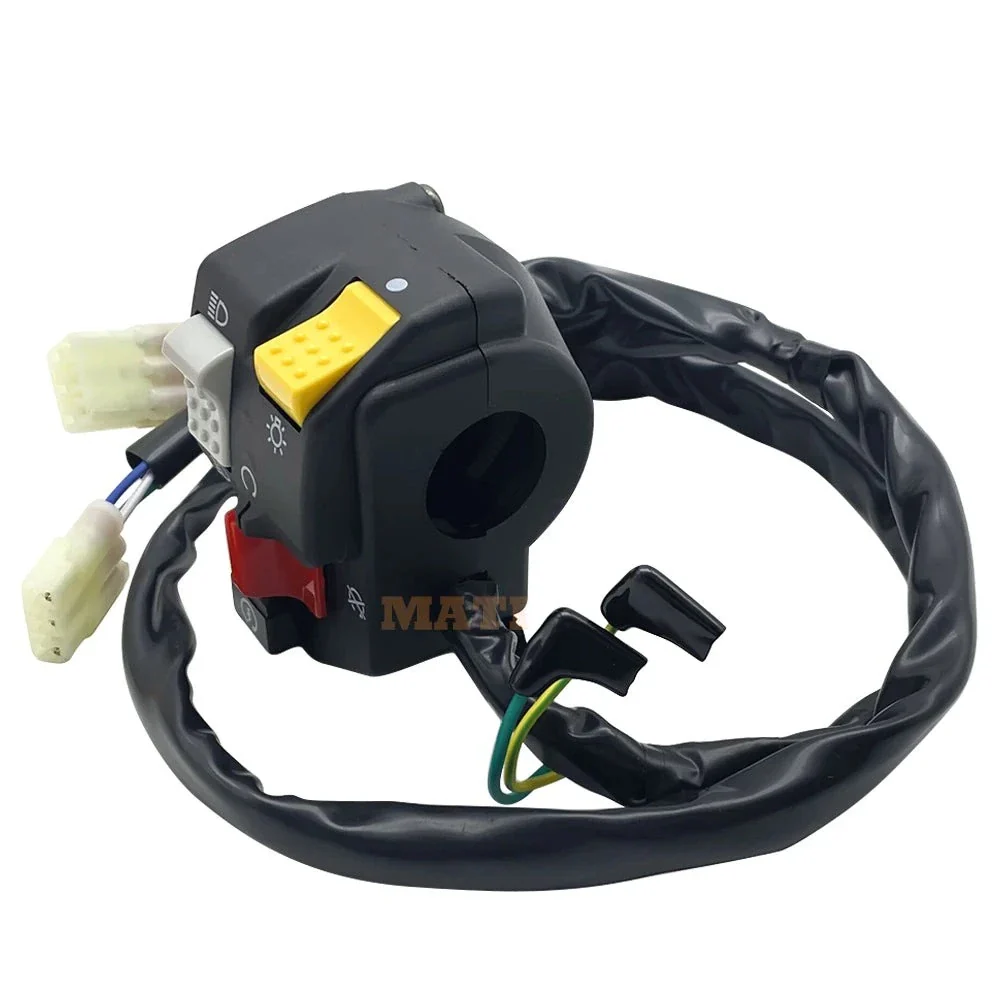
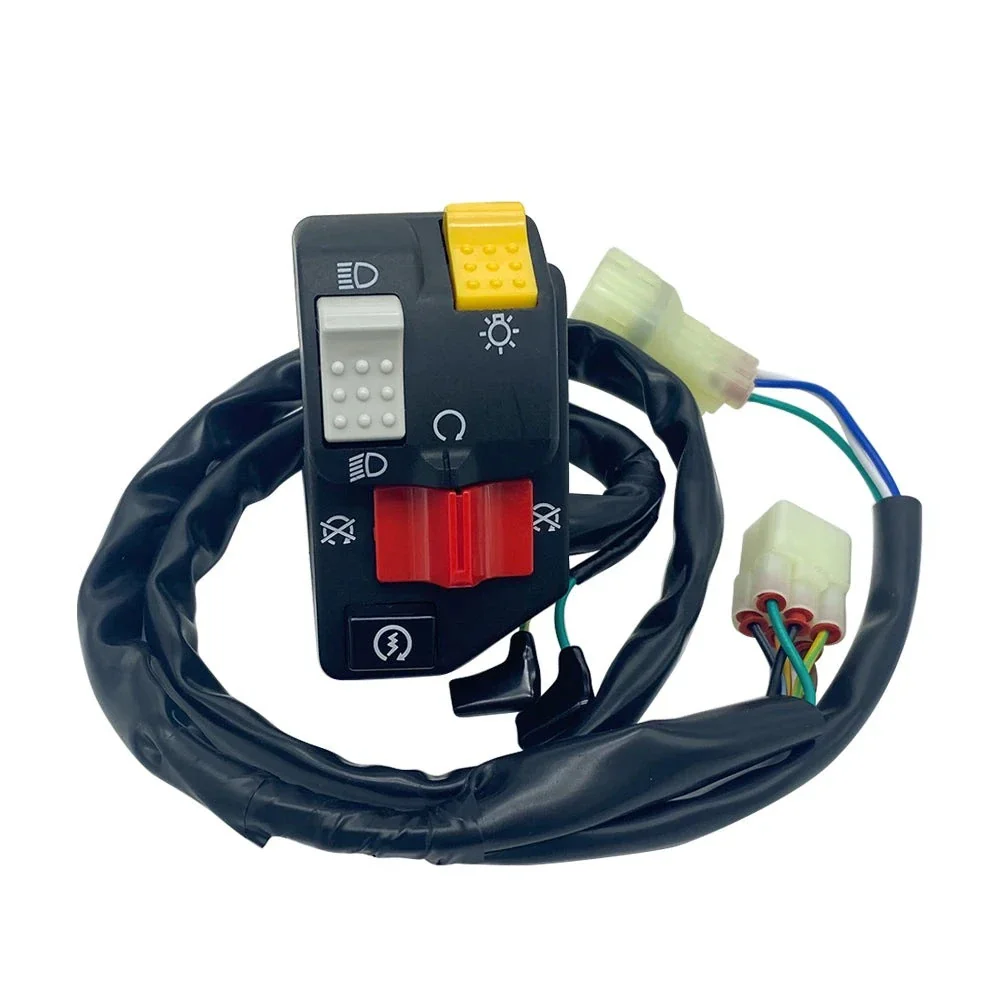
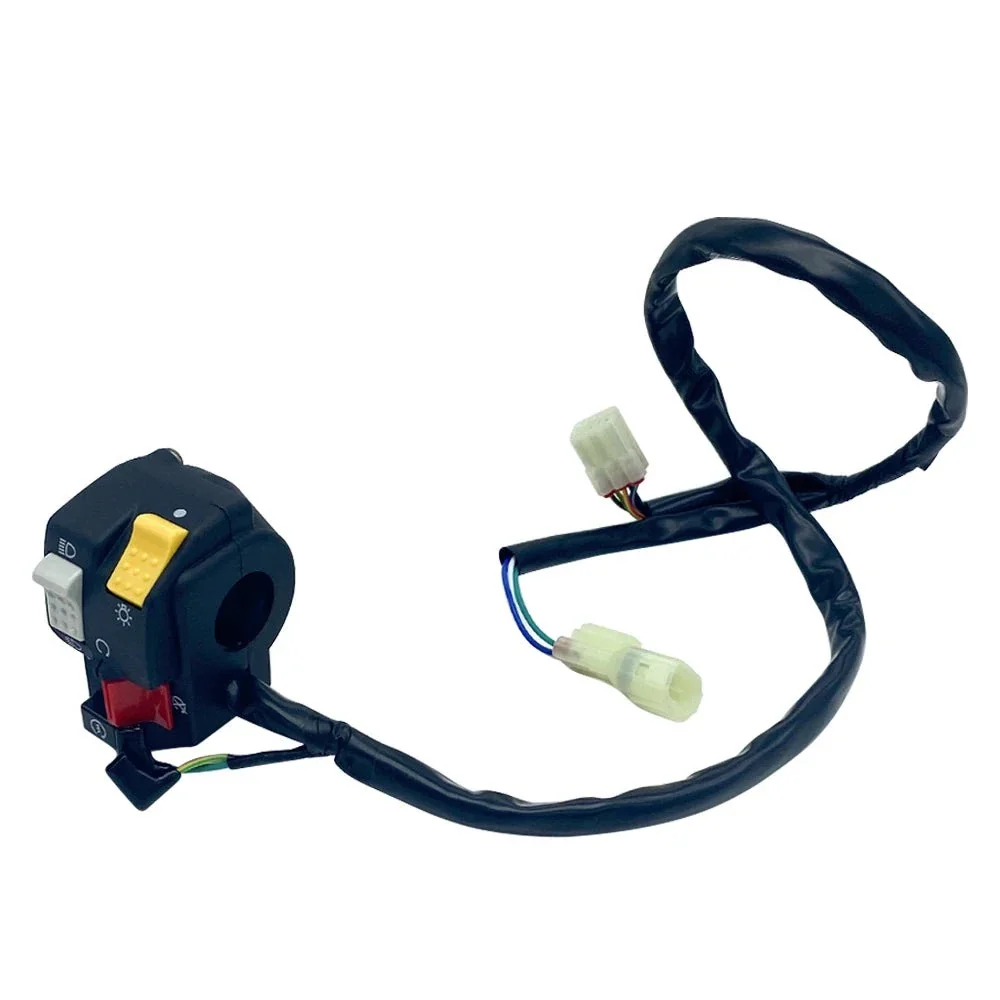
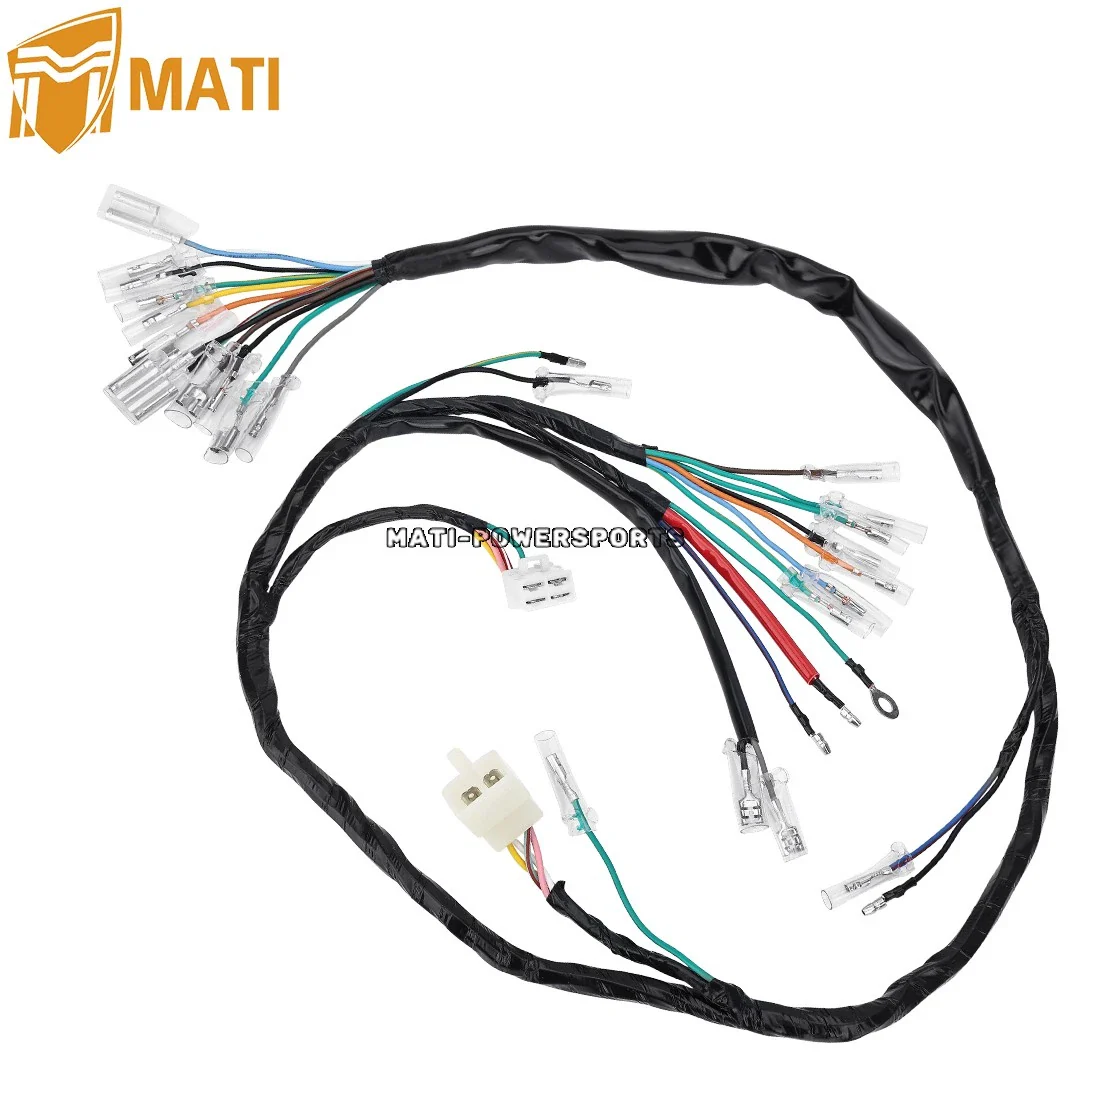
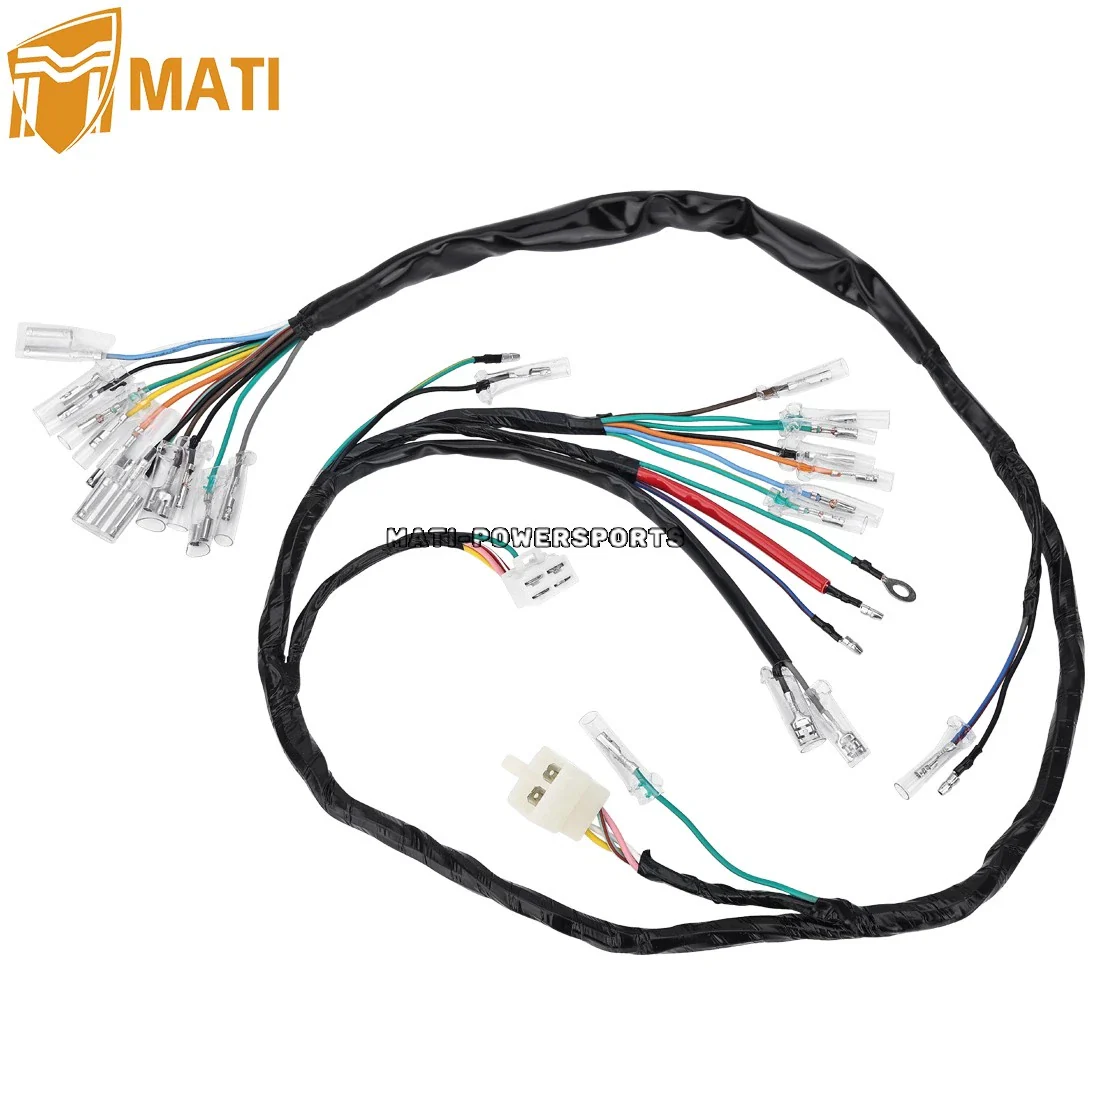
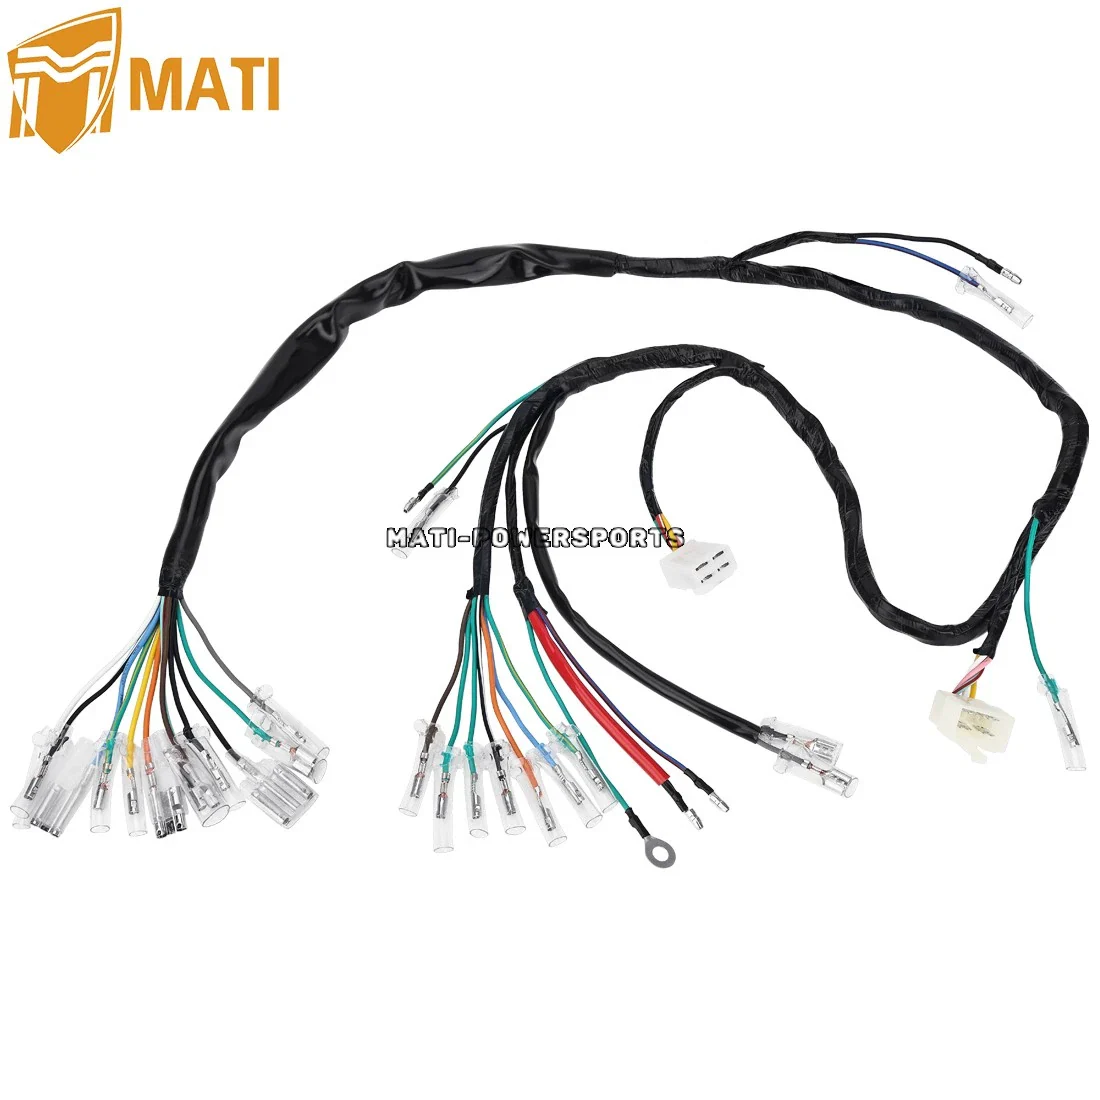
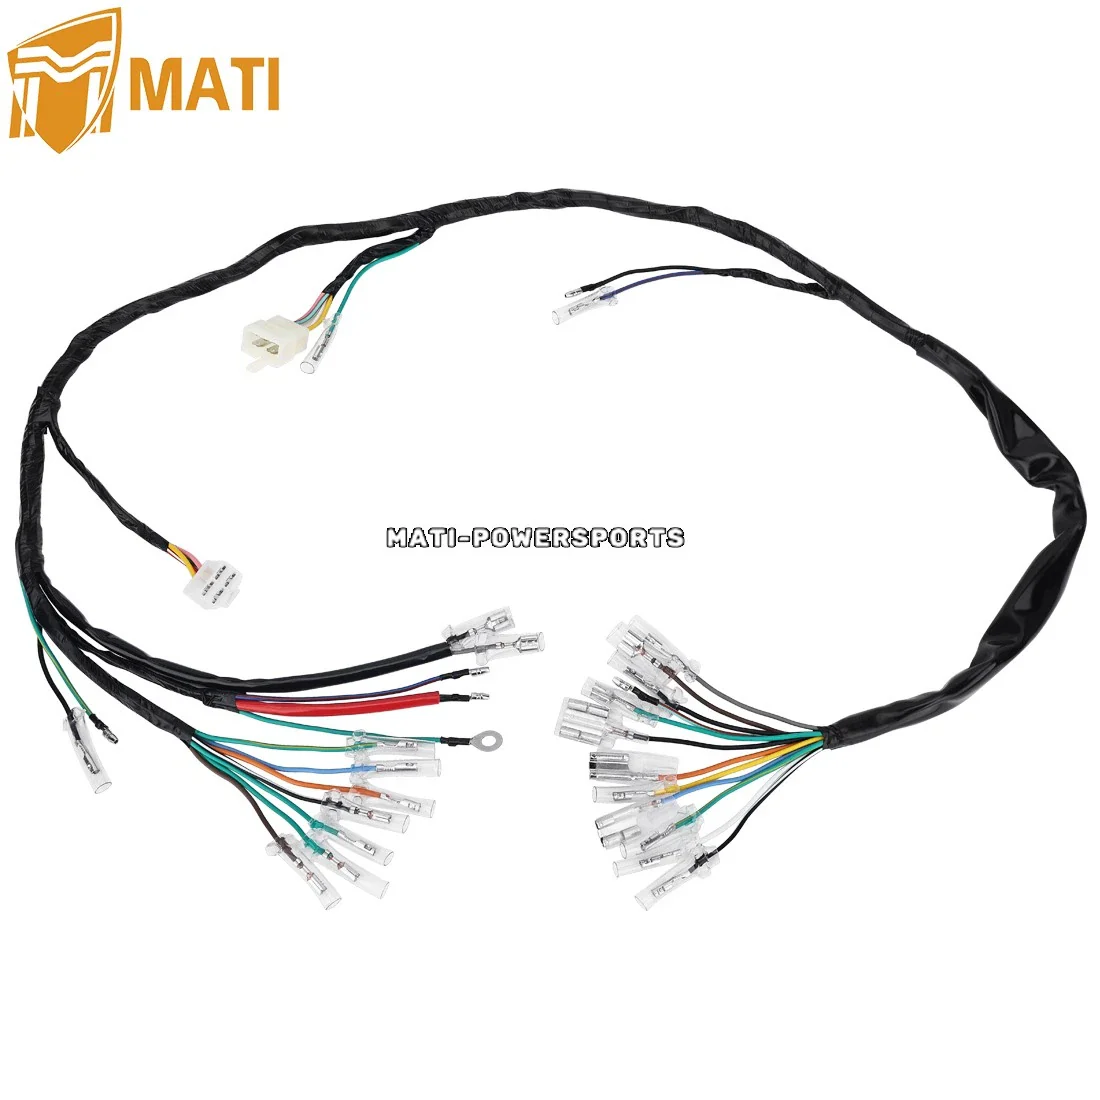
Main Wiring Harness For Honda CT90 1976-1979 32100-102-770
Brand Name: M MATI
Origin: Mainland China
For ATV Brand/Model: Honda
MPN : 32100-102-770 32100-102-780
Package : Main Wiring Harness x1
Placement on Vehicle: Wire Harness
Warranty : 1 year
Condition: New
Fit for Honda Motorcycle as Following
CT90 1976-1979
🛠️ Installation Tips
-
The "Pull-String" Method: Before removing your old harness, tie a long piece of twine to the tail-light end. Pull the old harness out toward the front, leaving the string in the frame. Tie the new harness to the string and pull it back through—this saves hours of fishing wires through the tight internal frame sections.
-
Grounding is Key: Honda CT90s rely heavily on a clean frame ground. Use a small piece of sandpaper to remove any paint or rust where the main ground eyelet (green wire) bolts to the frame. A "floating ground" is the #1 cause of blown bulbs.
-
Dielectric Grease: Apply a small dab of dielectric grease to every bullet and multi-pin connector. This creates a waterproof seal, preventing the moisture-induced corrosion that plagues vintage trail bikes.
-
Route Away from Heat: When passing the harness near the cylinder head and exhaust, ensure the factory wire clips are used to keep the loom away from hot surfaces. Melted insulation is a common cause of "mystery shorts."
-
Battery Connection: Ensure your battery is fully charged (6V for this model) before testing the new harness. Trying to test a new loom with a dead or weak battery will lead to false troubleshooting of the lighting circuit.
🔍 Troubleshooting Guide
| Issue | Possible Cause | Solution |
| Dim Lights / Flickering | Poor ground connection. | Clean the green wire frame mount. Check the battery terminals for tightness and ensure they are free of oxidation. |
| Blown Bulbs (High RPM) | Faulty Voltage Regulator. | If your bulbs pop as soon as you rev the engine, your regulator (rectifier) is likely failing. The harness is fine, but the charging system is over-volting. |
| No Spark | Kill switch or Ignition wiring. | Verify the black/white wire is correctly connected to the ignition coil and that the handlebar kill switch is in the "RUN" position. |
| Blinker Won't Flash | Incorrect bulb wattage or relay. | LED bulbs will not flash with a standard thermal relay. If using stock bulbs, ensure the flasher relay is securely plugged into the harness. |
| Neutral Light Stays Off | Loose wire at the crankcase. | Check the single wire coming from the bottom of the engine. If it’s unplugged or the internal switch is dirty, the light won't illuminate. |
Original: $53.99
-65%$53.99
$18.90


Description
Brand Name: M MATI
Origin: Mainland China
For ATV Brand/Model: Honda
MPN : 32100-102-770 32100-102-780
Package : Main Wiring Harness x1
Placement on Vehicle: Wire Harness
Warranty : 1 year
Condition: New
Fit for Honda Motorcycle as Following
CT90 1976-1979
🛠️ Installation Tips
-
The "Pull-String" Method: Before removing your old harness, tie a long piece of twine to the tail-light end. Pull the old harness out toward the front, leaving the string in the frame. Tie the new harness to the string and pull it back through—this saves hours of fishing wires through the tight internal frame sections.
-
Grounding is Key: Honda CT90s rely heavily on a clean frame ground. Use a small piece of sandpaper to remove any paint or rust where the main ground eyelet (green wire) bolts to the frame. A "floating ground" is the #1 cause of blown bulbs.
-
Dielectric Grease: Apply a small dab of dielectric grease to every bullet and multi-pin connector. This creates a waterproof seal, preventing the moisture-induced corrosion that plagues vintage trail bikes.
-
Route Away from Heat: When passing the harness near the cylinder head and exhaust, ensure the factory wire clips are used to keep the loom away from hot surfaces. Melted insulation is a common cause of "mystery shorts."
-
Battery Connection: Ensure your battery is fully charged (6V for this model) before testing the new harness. Trying to test a new loom with a dead or weak battery will lead to false troubleshooting of the lighting circuit.
🔍 Troubleshooting Guide
| Issue | Possible Cause | Solution |
| Dim Lights / Flickering | Poor ground connection. | Clean the green wire frame mount. Check the battery terminals for tightness and ensure they are free of oxidation. |
| Blown Bulbs (High RPM) | Faulty Voltage Regulator. | If your bulbs pop as soon as you rev the engine, your regulator (rectifier) is likely failing. The harness is fine, but the charging system is over-volting. |
| No Spark | Kill switch or Ignition wiring. | Verify the black/white wire is correctly connected to the ignition coil and that the handlebar kill switch is in the "RUN" position. |
| Blinker Won't Flash | Incorrect bulb wattage or relay. | LED bulbs will not flash with a standard thermal relay. If using stock bulbs, ensure the flasher relay is securely plugged into the harness. |
| Neutral Light Stays Off | Loose wire at the crankcase. | Check the single wire coming from the bottom of the engine. If it’s unplugged or the internal switch is dirty, the light won't illuminate. |